Mobile Devices

Starting a new portfolio for hi tech stuff. Two I like so far, one I'm not sure about. HTC EVO 4G. I haven't fired it up, but the design of this phone is quite nice. The interior is all red, so expect to see some more of that soon. The back cover is thin and flexible though, and seems like it's about to pop off all the time.

Blackberry Torch. The finish on this phone let me work out this new lighting technique. The phone itself is very stylish, so that helps.

Samsung Galaxy Tab. This thing is a brick, essentially. Hard to find a way to spice it up, hence the weird background treatment. I think a screen would help, and maybe I'll shoot the backside, as that has a little more interest.

Starting at the End Versus Starting at the Beginning

Starting at the end is defining a vision for a photograph before I start, which includes a look, an idea, a message, and a goal. Starting at the beginning is getting some objects and starting to photograph them.

IMG_7514.jpg

Design can be defined as thinking, looking, and doing. Starting at the end requires a lot of looking and thinking up-front, whereas starting at the beginning requires mainly doing at the outset.

IMG_7624.jpg

That's what I'm doing with all these packing materials. In an earlier post, I wondered about themes, such as waste, and overuse, but it's pretty clear we're not headed in that direction. And I'm not really thinking about it very much, just moving stuff around and taking a picture.

Working this way is appealing in that I'm free to wander around, and can take tangents as they come up, and I don't have to adhere to any sort of guidelines. But at the same time, it can be frustrating because I can't really track progress, because there's no goalpost.

And that's the main thing about starting at the beginning: while it's an interesting trip, I'm not sure if I get there, because I never defined where I was going.

Driven by Dissatisfaction

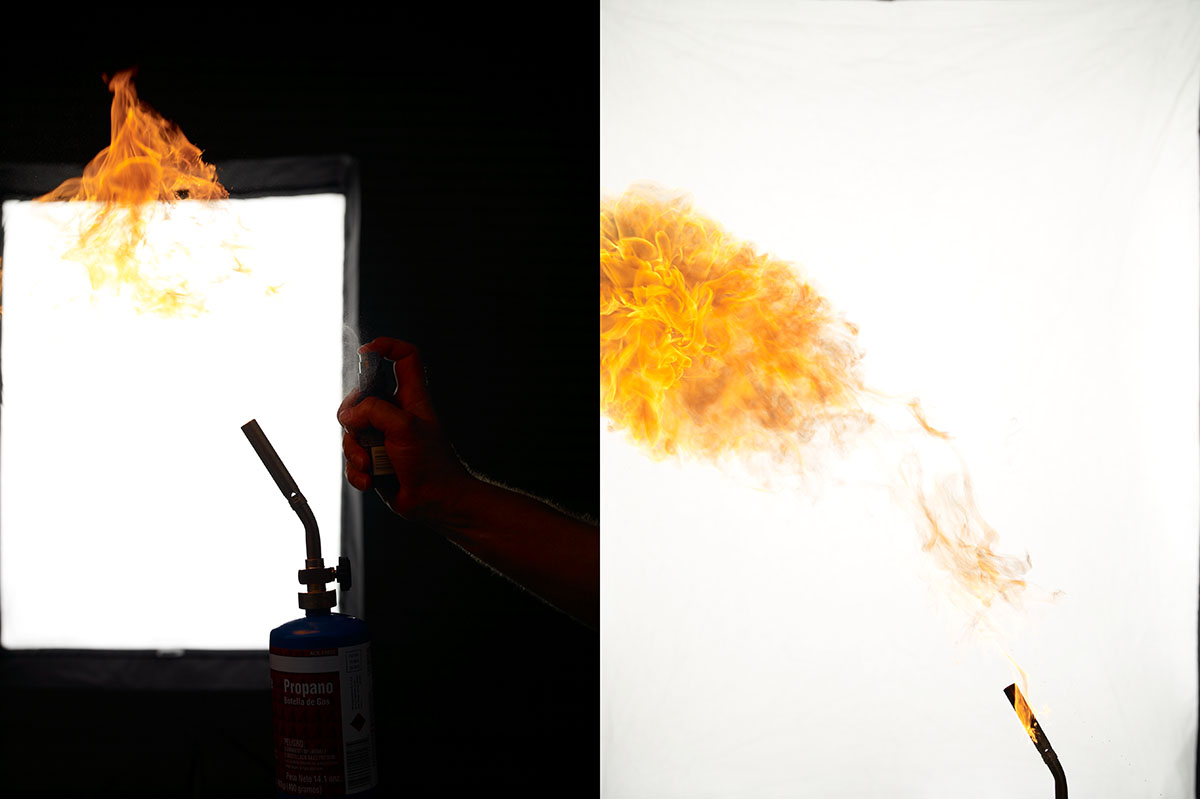
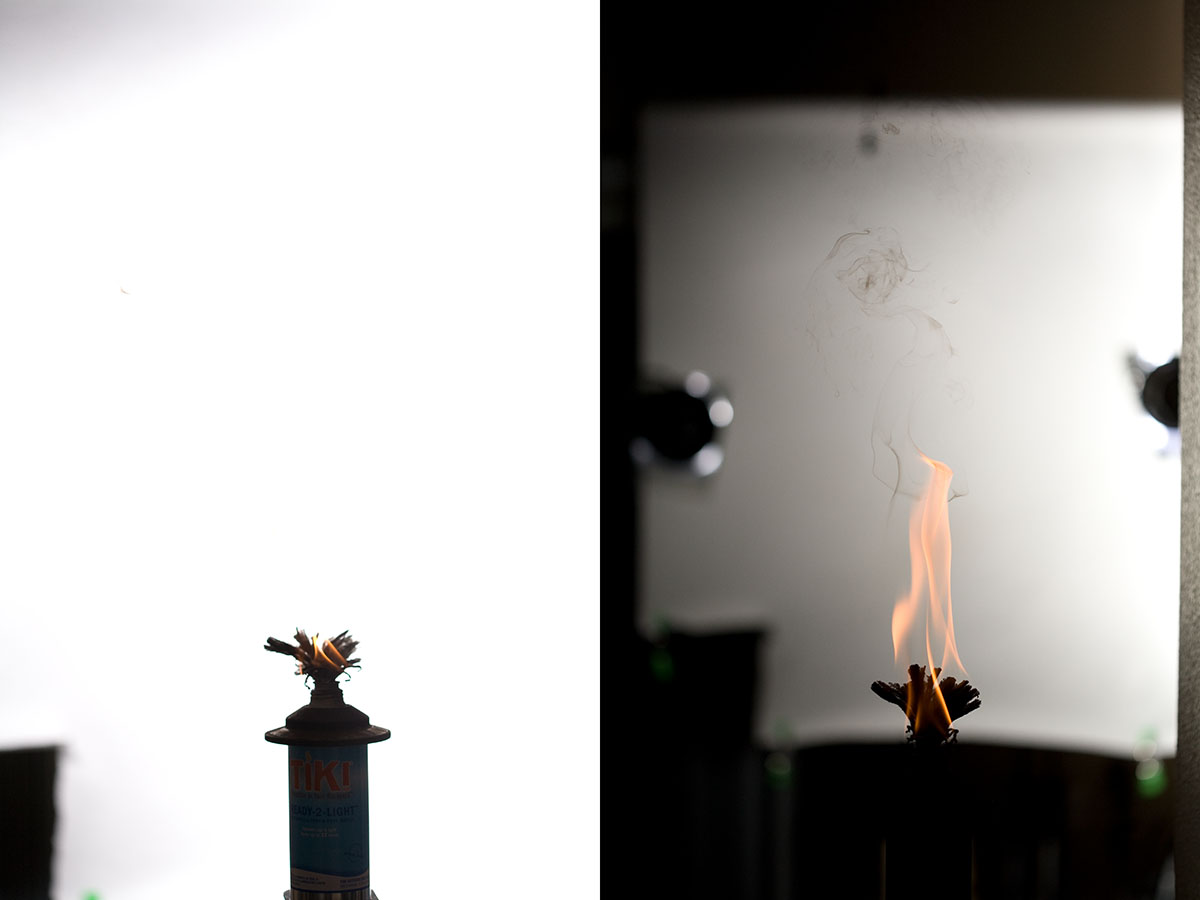
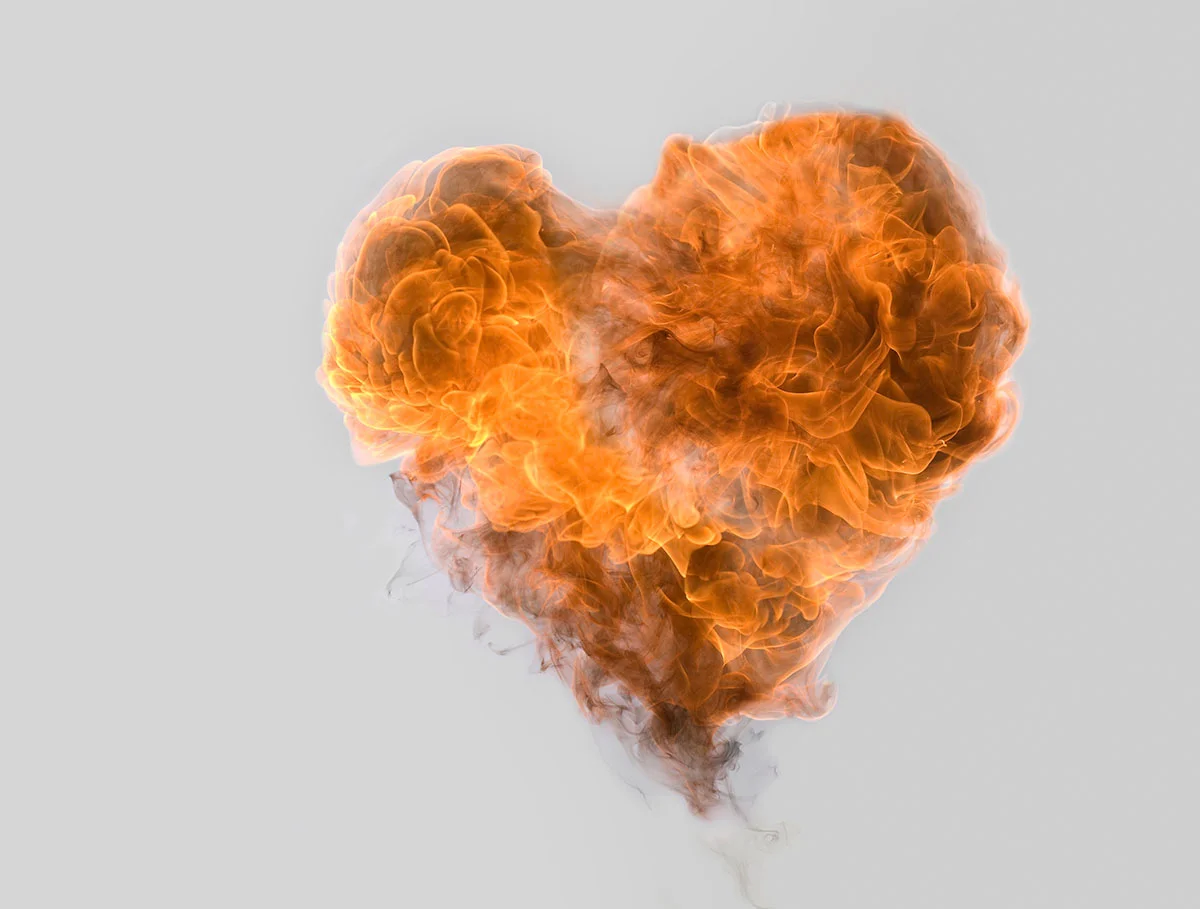
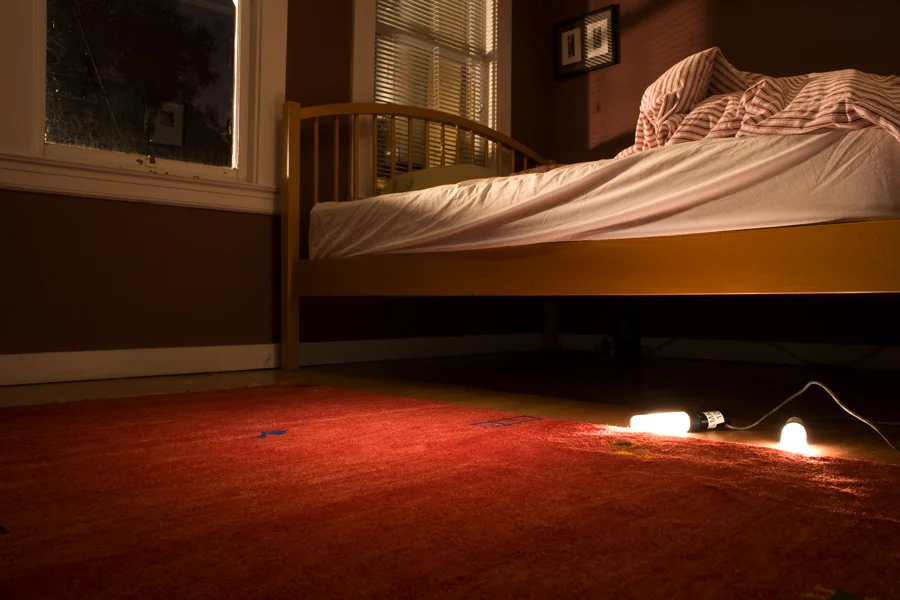
So I'm coming to realize that, when it comes to compositing, the problem is not necessarily the light, or the knockout, each of which can be done skillfully and well. But it's the composition, and some as-yet-undefined variables of place and time, that matter. And that matters with flames on white, because I don't plan on shooting flames on white backgrounds forever. I'm getting toward shooting flames on normally exposed backgrounds. I'm just not sure what those backgrounds will be. Hotel rooms? Parking garages? People standing around? Until all that gets sorted out, I am after sharp, frozen flames, deep, rich colors, and a white background. It's pretty easy to get the first two against black. It's a different story getting them against white.

The thing is, to get the deep rich colors, I need a gasoline fire, which moves quite fast. To freeze it, I need a a very fast shutter speed (I like 1/8000). To keep it sharp, I need a low ISO, and hopefully, a tight aperture for long depth-of-field. So let's say 1/8000 at f11, ISO 100. All fine against black. But to get an appropriately sized background white at that exposure, I need a lot of light. According to this wikipedia entry on EV, frontlit daylight is EV 16, 1/8000 at f2.8, ISO 100, and I need four stops over that to get to f11, I think about 100,000 watts. Ok, strobe. But oh, the camera won't sync with the strobe above 1/250. Hm.

So, daylight maybe. Per Hunter Freeman's suggestion.

I tried in the back yard, with full sun, white boards, and mirrors. There was just enough shade-free space, and happily, the neighbors with whom I share the garden weren't home. I'm sure they would have been alarmed to see five foot diameter fireballs exploding back there.

IMG_4065-716564.jpg

A little cleanup (like 2 minutes) makes it look better. Of course, it's still not on white. So, for this approach, I think the theoretically perfect setup is: 5d MKII for high ISO with low noise, f11, 1/8000 (ISO 1600), full sun, 2 20K continuous lights, color-corrected to daylight. And mirrors and white boards just in case.

I'll Teach You to Learn

Working on a photo project, I ran into a need for a picture of fire. Since it was secondary to my photo project, I thought I'd look around for an existing picture, to save time. I needed a picture of a flame on white, but I was unable to find what I was looking for, as there seems to be a lack of good flames on white: Google Images shows a sample of what's out there. Shooting on black and altering it in Photoshop doesn't look right, sometimes it really doesn't. Illustrating the flames from scratch is also off, somehow.

So, ok, I'm a talented studio photographer, I'll just do it myself. Flames on white.

fire_blog_overview-01-705813.jpg

I started by revisiting my adolescence: flaming WD-40. I quickly realized it's not as easy as I thought it would be. With strobe, on the left, and without, on the right. And yeah, there's fire in the left-hand picture.

fire_blog_overview-04-788702.jpg

I looked around for methods, found this tutorial, and gasoline seemed like a lot more fun than WD-40.

Shot on black, with gasoline, I realized I really like the flames frozen. Of course, to freeze it, I need a very fast shutter speed. If I wanted to get the flame frozen on a white background, I'd need a tremendous volume of light. On the left, a frozen torch flame, on the right, a fireball in an undesirable combination of motion blur and shallow depth-of-field.

Tried with Hasselblad and strobe, because the leaf shutter can sync at a higher speed, which looked pretty good, but still too much motion blur. Overly bright background on the left, good background on the right, but the flame is not frozen enough.

Hunter Freeman suggested daylight, which I tried in the back yard, with full sun and mirrors. Learned a lot more about explosion delivery methods and how to wrangle flame, which is so much faster than smoke and thus much harder to control. Since it's continuous light, sync speed is irrelevant, but the background on each of this is underexposed. But it's getting closer.

Tried the strobe delay method as described by Ian Hylands. It was so erratic it drove me crazy. But I did manage to freeze a flame on a whiter background. This revealed a new problem: the tiki torch flame I was using disappears against white. I tried shooting a fireball, but the delay method is so inconsistent, most of the frames were unusable. The flame in each of these pictures is about the same, it's just invisible against the white background, on the left.

Finally, I learned from Ralph Paonessa that the Canon system (5D, 380 EX, and IR transmitter) will support any sync speed, so I tried that. This method is much more reliable than the delay method, but I need a lot of 380 EXs to get the background white, and even. And a much more dense flame, like the gasoline fireball. Again, in each of these photos, the flame is about the same.

Through all this experimentation, I've discovered that what I really want is tack sharp frozen flames, deep, rich colors, with enough depth-of-field that most of the fireball is sharp, on a white background. And I know now what that should look like (hint: it doesn't look like flame shot on black and cut out).

It's turned into a kind of holy grail for me.

I'll continue refining these processes, but it's time to start wondering what to do with this material. Is it art? Embellishments to other images? Can I tie it into the smoke? Special effects?

After many hours experimenting in Photoshop, this is where I'm at. With the material I've shot thus far, it's better to use a grey background. For now, light grey is white enough for me. Special thanks to Tim and Anne at ProCamera, Brian and Perry at Calumet, Ian Hylands, Hunter Freeman, and there's got to be somebody I'm forgetting.